

How to Set a Battery Charge Limit on Your Mac (And Automate It With Shortcuts)
Apple silicon Macs now have the same battery charge limit iPhone has had since 2023, hidden behind one info button in System Settings. Here is how to set it, override it and automate it.


Part of Hidden in Plain Sight, our series on Apple features that already shipped and already work, sitting one tap away in apps you already use.
Why did an entire category of Mac utilities exist just to stop a laptop from charging? Because for years, a MacBook that lived on a desk spent most of its life sitting at 100 percent, and Apple gave you no direct way to stop it. iPhone 15 and later got a charge limit in 2023. The Mac finally got the same control in macOS Tahoe 26.4 this spring, and it carries over to macOS 27. It lives behind a small info button in Battery settings that most people have never clicked.
What Charge Limit does
Charge Limit sets a ceiling on how full your Mac's battery gets. Pick 80 percent, and your Mac stops charging around there even while it stays plugged in. The reason is battery longevity. Lithium ion batteries age faster when they spend long stretches at a full charge, so a laptop that is docked most of the day benefits from never quite getting there.
It is different from Optimized Battery Charging, which the Mac has had for years. Optimized Battery Charging learns your routine and delays the last stretch of a charge until it predicts you will unplug, but it still takes the battery to 100 percent when your routine calls for it. Charge Limit is a fixed ceiling that ignores your routine. Apple's own support article covers both, and you can use either one on its own.
How to turn it on
- Make sure your Mac has Apple silicon and is running macOS Tahoe 26.4 or later. Intel Macs do not get the option.
- Open System Settings and click Battery in the sidebar.
- Click the info button (i) next to Charging.
- Choose a Charge Limit between 80 and 100 percent.
- Click Done.
When the limit is doing its job, the battery menu in the menu bar reads "Charged to" your chosen percentage with the word Limit after it, so you can confirm at a glance that it is working rather than wondering why your Mac stopped at 80.

The overrides you will actually use
Charge to Full Now. Heading to the airport? Click the battery icon in the menu bar and choose Charge to Full Now. It overrides your limit, and Optimized Battery Charging, for that charge only, without changing the setting you picked.
The 5 percent cushion. If your Mac sits plugged in and the charge drifts more than 5 percent below the limit, charging starts again. That is why you will sometimes see it top back up while you are working. It is by design.
The occasional full charge. Even with a limit set, your Mac will occasionally charge to 100 percent on purpose. Apple does this to keep the battery's state of charge estimate accurate, so the percentage you see stays trustworthy. If you catch it at 100 once in a while, nothing is broken.
Automate it with Shortcuts
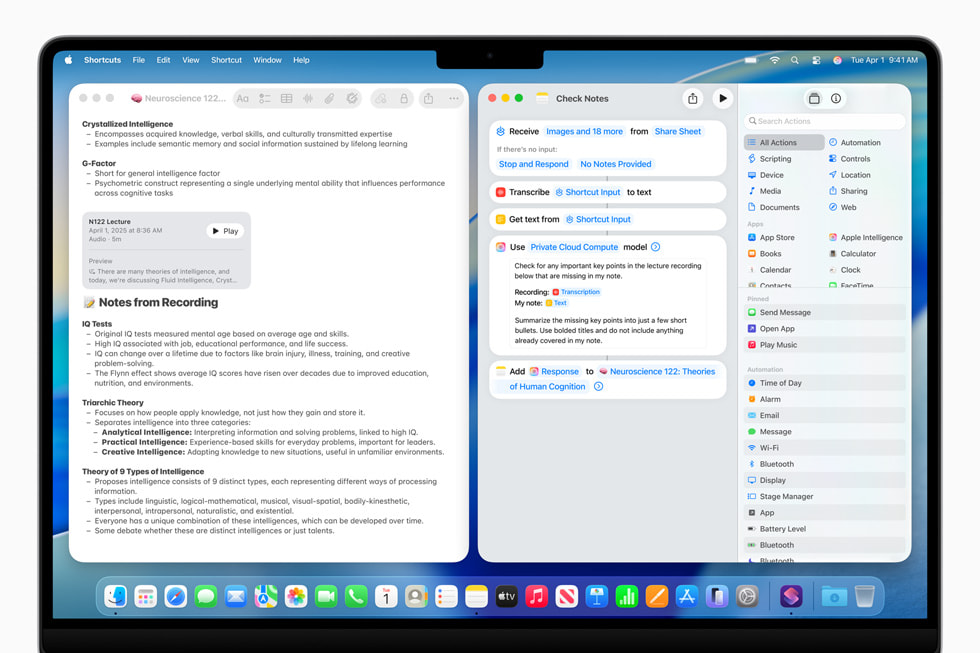
macOS 26.4 also gave Shortcuts a Set Battery Charge Limit action, which means the limit no longer has to be something you remember to change. A simple pattern: keep 80 percent as your everyday setting, then build a personal automation in the Shortcuts app that raises the limit to 100 percent at a set time on travel days, or run it by hand the night before a trip and lower it again when you are back at your desk.
Which percentage should you pick?
There is no single right number. If your MacBook spends most of the day docked, 80 percent is the sensible starting point, because the battery rarely needs more and gains the most from never sitting full. If you unplug for long stretches and a full charge barely gets you through, 90 or 95 percent is the better trade, since a healthy battery is not much use if it leaves you hunting for an outlet at 3 p.m. And if you are regularly away from power all day, leave it at 100 and let Optimized Battery Charging do its quieter work.
The bigger point is that you no longer need a third party utility for any of this. On an Apple silicon Mac running a current version of macOS, the control is already in System Settings, one info button away.
More from Hidden in Plain Sight: how to use polls in Messages, and how to get better results from Playlist Playground in Apple Music.
Hidden in Plain Sight
Members vote in one tap. The winner gets the next guide in the series.
Which hidden feature should we explain next?
Screening spam texts in Messages
Read us first
See more TBTL when you search Google
Add Tech Between the Lines as a preferred source and our Apple coverage shows up more often in your Top Stories. It takes one tap, and you can change it anytime.
Prefer TBTL on Google